5* Reviews icon 5* Reviews Free UK Express Delivery icon Free UK Express Delivery Pay in 3 with Klarna icon Pay in 3 with Klarna Made To Last icon Made To Last

Our DIY Guide To Installing Our Socket Kits

Want to upgrade your space with our Acoustic Slat Wall Panels but have wall sockets in the way? No problem. Our Acoustic Slat Wall Socket Kits are specifically designed to make installation around sockets quick and easy, without compromising on style. In this guide, we’ll take you through each step of the process, from prep work to the final touches, so you can achieve a clean, modern finish with confidence. Whether you’re a DIY enthusiast or a first timer, this blogpost has everything you need to get started.

Step 1:

We recommend either a qualified electrician or a competent person to carry out
the installation of socket extenders.


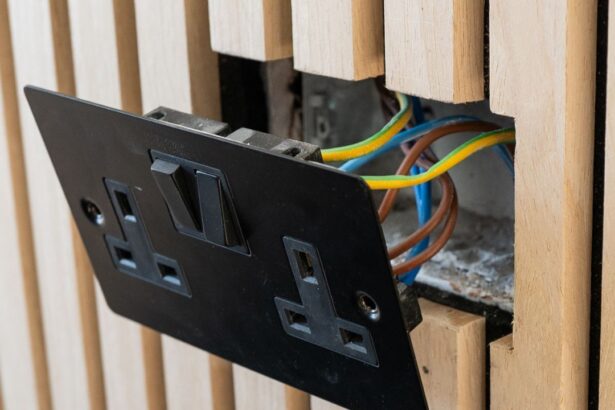
Before doing any electrical work, always ensure your safety by turning off the power supply to the socket you're working on, by switching off the power at the main fuse box.
Then proceed to unscrew and remove the socket faceplate.
Do not disconnect any wires at this stage, there’s no need to alter the electrical connections unless you're replacing or rewiring the socket.

Step 2:

Begin by carefully measuring the area where the slatwall panel will be installed, then mark and cut the slatwall panel to size using appropriate tools for a clean, precise edge. If there is a socket in the area, you will need to measure and mark the location for a cut out that accommodates it. Make sure the cut out matches the exact dimensions of the socket extender, as a proper fit is essential for both safety and a professional looking finish. Take your time to ensure all measurements are accurate before making any cuts.


The cuts can be made with tools such as a multi tool or a cordless jigsaw tool.

Step 3:

Position the slatwall panel against the wall, making sure the socket lines up with the cutout you made earlier. Carefully pull the socket through the opening so it sits correctly. Once everything is aligned, fix the panel securely to the wall using adhesive glue and/or provided screws.

Step 4:

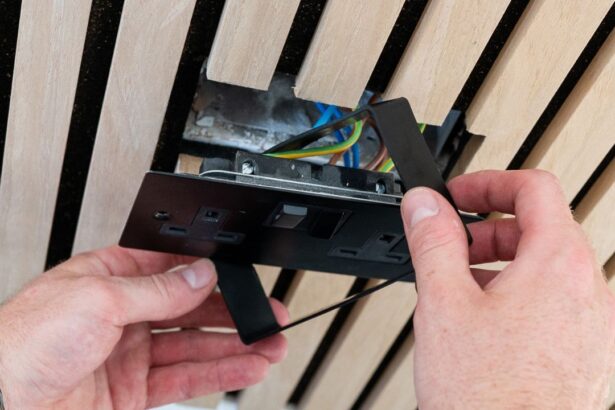
Now that your slatwall panel is securely fixed and the socket faceplate is exposed through the cutout, take the socket extender and carefully slide it over the faceplate. Align it properly so it fits snugly into the cutout in the panel, ensuring it sits against the surface for a clean and professional finish.

Step 5:

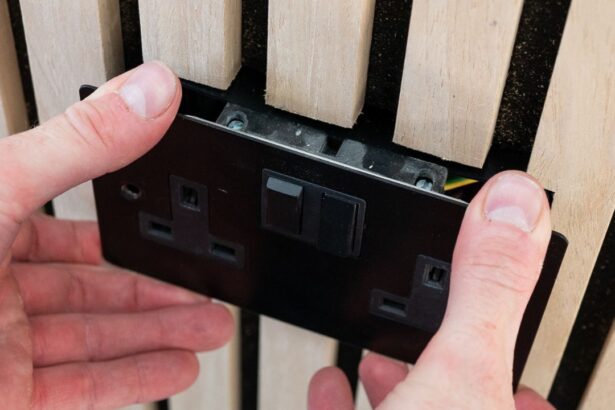
Using the extra long 50mm screws provided with the socket extender, carefully align the socket faceplate with the back box. Insert the screws through the faceplate and extender, then tighten them until the faceplate is securely fixed in place. Make sure it sits firmly and evenly against the wall for a stable and neat finish.

Step 6:

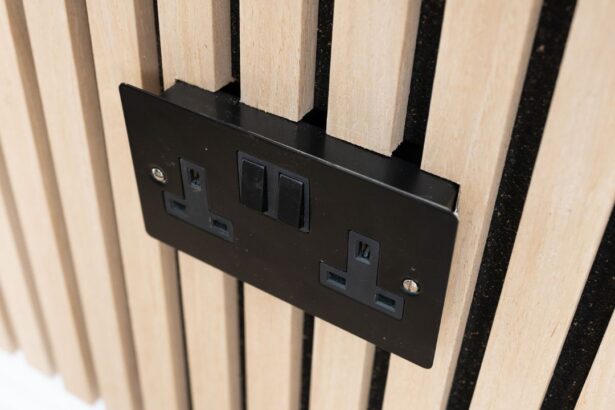
Now your socket is installed securely, you can turn your power back on. Leaving you with functioning sockets slotted perfectly into the wall panels of your choice.

What do our customers say

    Shopping Cart Items
    Your cart is emptyReturn to Shop