Spring is just around the corner, and that means longer days, warmer weather, and more time spent outdoors. If your garden retreat, summer house, or outdoor office needs a refresh, now’s the perfect time to liven up your space with high-quality outdoor wall panels from The Wall Exchange. If you want a sleek, modern look or a natural, wood-effect finish, our outdoor slatwall panels can help you create the perfect spring-ready space.
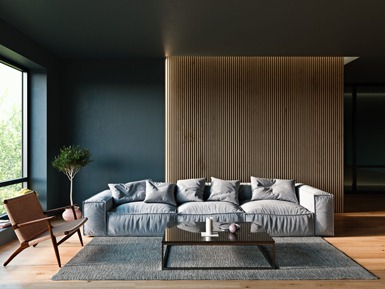
Your home should be a sanctuary, a place to relax, recharge, and feel truly at ease. At The Wall Exchange, we know how important it is to create a space that feels warm, inviting, and uniquely yours. That’s why we’re proud to offer acoustic wood panels that combine stunning design with functional benefits. Whether you’re drawn to the natural elegance of oak slats or the rich tones of walnut slats, our SlatWall panels redefine how your home can look and feel.
The new year is here, and with it comes the perfect opportunity to refresh your living space. Whether you’re taking on a full interior redesign or just looking to add a finishing touch, SlatWall panels from The Wall Exchange are the ideal solution to transform your home. And now, with 15% off everything with the code NEWHOME15, there’s never been a better time to upgrade your walls.
The festive season has arrived, which means there’s no better time to refresh your interiors. At The Wall Exchange, we believe that every living space could do with an extra spruce up over Christmas. Our SlatWall Panels are the perfect way to transform your home, by adding elements of warmth, texture, and cosiness.
When it comes to home design, the hallway is often an overlooked space. In reality, it’s the initial welcome for anyone entering your home, making it the first impression of your house.
A well-designed hallway sets the tone for your interior and can provide added functionality in this busy area, which is normally just used for storage. One of the most effective and stylish ways to transform this often-neglected space is with the use of slat walls or wall panelling.
This year, The Wall Exchange will be exhibiting at the Grand Designs Live Expo 2024, taking place at the NEC, Birmingham between 2nd– 6th October.
The Grand Designs Live Expo promises to provide extensive inspiration, alongside expert advice from industry leaders in home improvement, design, and innovation. Here are just some of the many things you can expect from the event…
Invaluable Inspiration. Be inspired by hundreds of exhibitors, spanning four different sectors: build, kitchens and bathrooms, gardens, and interiors. Discover architects, building suppliers, kitchen, and bathroom designers as well as unique bespoke furnishings and designs alongside original pieces of artwork, and much more.
Expert advice. Discuss your build and renovation plans on a one-to-one basis with specialists in architecture, construction, finance, interior design, and more.
Live talks. Hear from an array of industry experts across three theatres, where an exciting and engaging line-up of speakers will take centre stage each day.
Green Living Live. All visitors gain entry to this inspiring event dedicated to showcasing eco-friendly products and services from companies that put sustainability at the heart of their business.
Whether you’re looking to self‐build, redecorate a room, install a new kitchen or simply looking for ideas, Grand Designs Live is the must‐visit event for everyone wanting to learn more about home renovation and design. You can find a full list of exhibitors here.
You will find us at The Wall Exchange at L15, where we will be showcasing each of our panelling styles and colours, with samples that you can take away to get a proper feel for our products within your space. Remember to also grab a product brochure to take away with you!
Throughout the expo, we will also be launching an exciting giveaway, as well as providing an exclusive promo code for visitors to our stand.
To get expert advice about slatwalls and wall panelling, make sure to come and have a chat with us!
For those looking to discuss trade opportunities, this is the perfect chance to have a chat with our team about what we can offer including trade pricing, sample packs, next-day delivery, and a dedicated account manager.
Tickets for the expo start at just £13, and you can get yours here. Or, if you’d like to get your hands on some tickets for free, get in touch with us by emailing support@thewallexhange.co.uk.
Transforming your home office into a space of productivity and sophistication has never been easier thanks to the inclusion of slat walls and wall panelling.
With the increased number of people working from home, slat walls have become a game-changer for creating the perfect home office, thanks to the versatility of its style and properties.
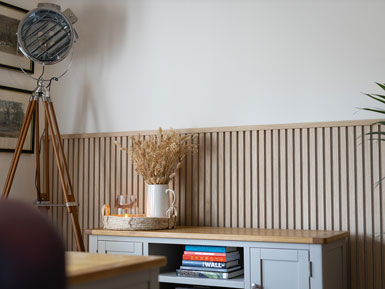
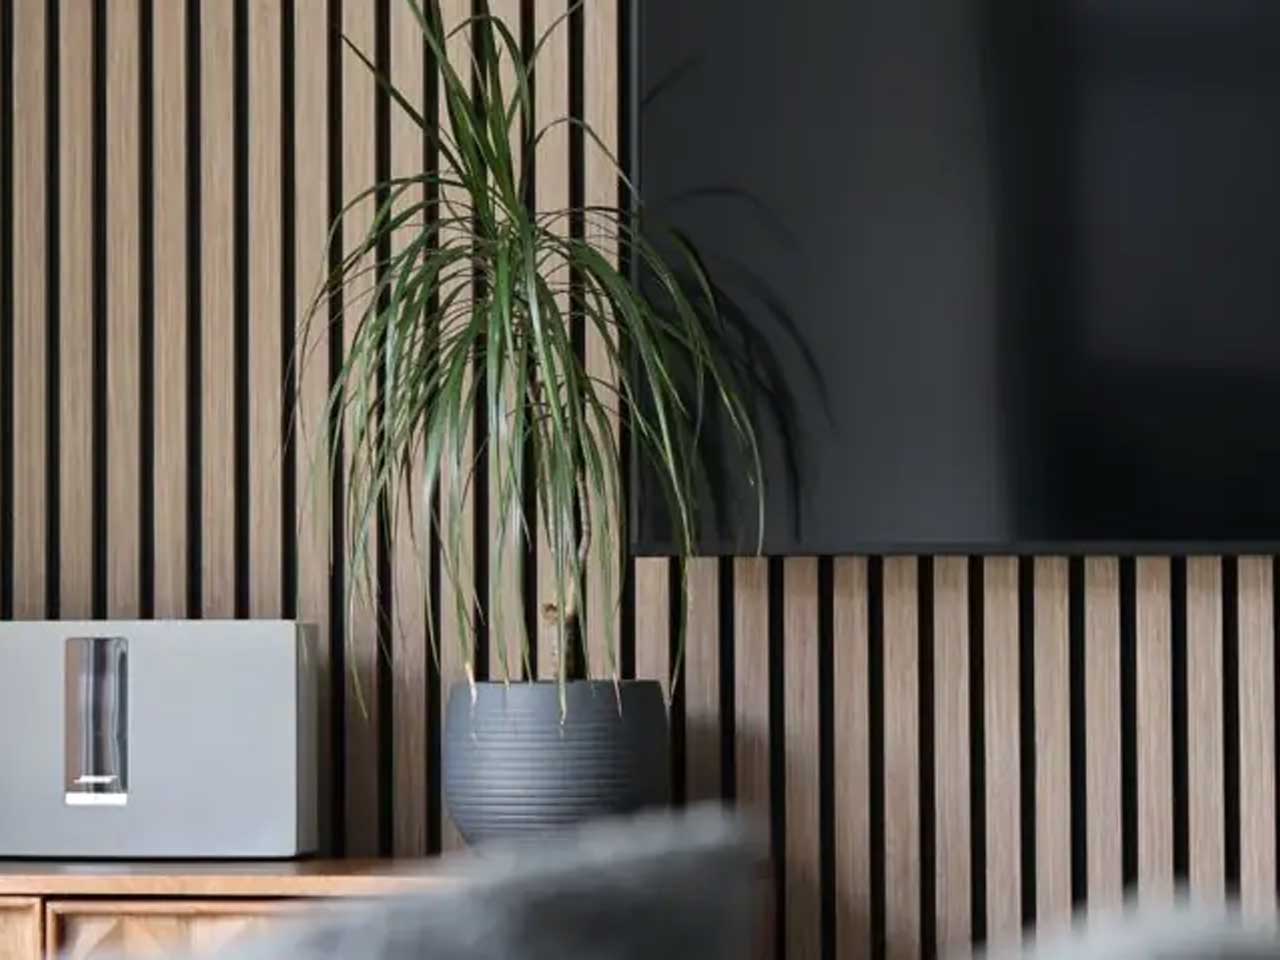
Slat walls and wall panelling have become incredibly popular due to their versatility which allows them to be used in any room throughout the home. Living spaces, hallways, bedrooms, and offices are obvious choices for installing slat walls, but they can also be ideal for your kitchen. With The Wall Exchange, transforming your kitchen space has never been easier, thanks to our range of slat walls and wall panelling.
With a blend of visual interest and practicality, slat walls are a great choice for providing a stylish and functional feature to the heart of your home.
If you’re looking for an exciting way to create your dream bedroom space that is both stylish and functional, then look no further than our range of slat walls and wall panelling.
This modern, stylistic, and practical way of decorating a space, offers you the opportunity to truly create the bedroom of your dreams with unparalleled ease and affordability.
Wall panels made easy! Super quick and easy to put up, lovely back office staff that helped with everything we needed.
Extremely happy with the service we had from TWE, super lovely team and looks great in our home now it’s all up!
Ordering was very simple, easy to put up and product looks brill. Highly recommended.
Me and my partner bought the Wallnut finish and it looks absolutely stunning in our new kitchen. Mega easy to put up too!
Their service, delivery times, product quality and after sales support are second to none.
Excellent quality wall panels. Really hardy and look great in our cinema room.
Top customer service, top product, 5 star all around!
We made our first order over Christmas for our bathroom and were over-joyed with the product quality and ease of putting them up.
Brilliant customer service and really easy and enjoyable to install!
 Pay in 3 with Klarna
  Made To Last